How to Install Synthetic Thatch Roofing
Natural thatch takes a specialist thatcher and a lot of time. Endureed synthetic thatch installs much like asphalt shingles, so a roofing contractor or an experienced DIYer can handle the job with standard tools.
Here is what to plan for, which installation method fits your structure, and how the work goes from first course to ridge.
Who Can Install Endureed Thatch
- Roofing contractors. Any crew comfortable with shingles will recognize the process.
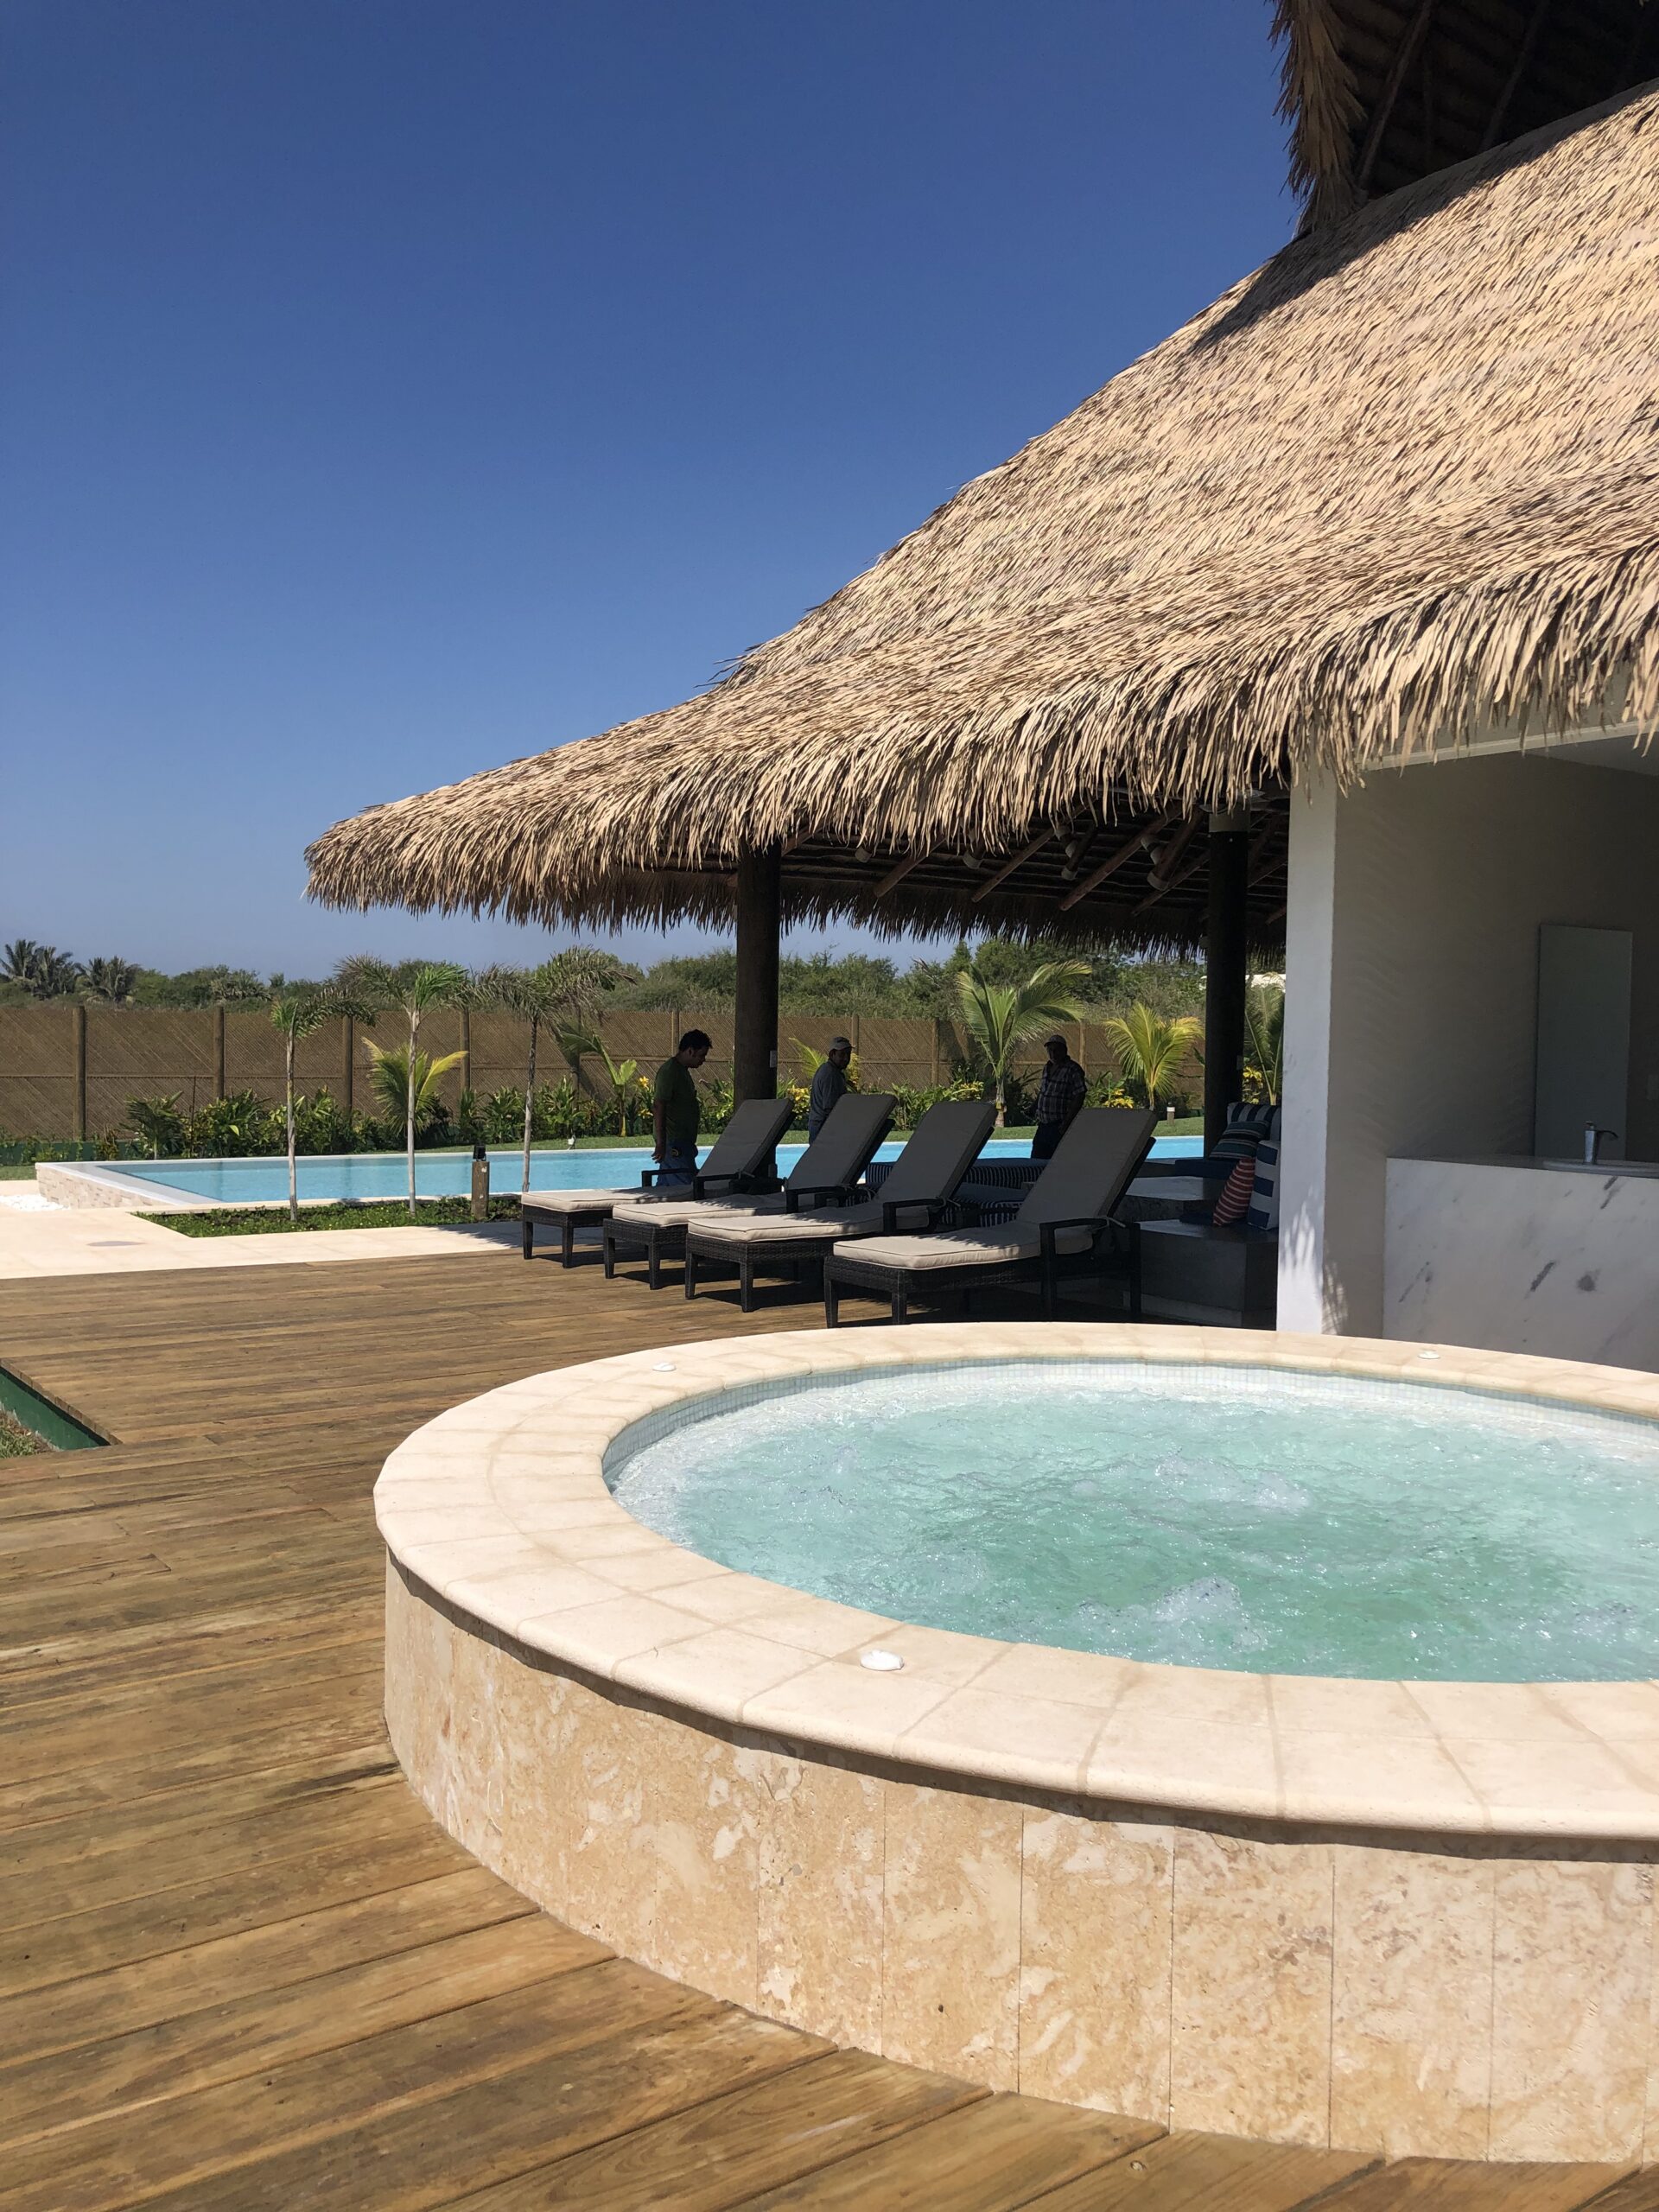
- Experienced DIYers. Basics is designed to be DIY friendly and is always in stock, which makes it a good fit for backyard tiki huts, cabanas and pergolas.
- Approved installers. For commercial work or larger roofs, Endureed can connect you with a qualified contractor from our approved installer network.
Before You Start
- Check the pitch. Endureed thatch is designed for sloped roofs with a pitch of 4:12 (18°) or greater.
- Choose your method. Decide between an Open Batten or Enclosed Deck installation (see below).
- Read the product data sheet. It lists batten spacing, fasteners and underlayment for your product. Find it on the product page or our Resources page.
- Confirm local requirements. Check permit and code requirements with your building department, especially for commercial projects.
Choose Your Installation Method
| Method | How it works | Best for |
|---|---|---|
| Open Batten | Thatch fastens over horizontal battens. The system is waterproof on its own, and the underside becomes the finished ceiling. | Open-air pavilions, tiki huts, bars and cabanas |
| Enclosed Deck | Thatch fastens over a plywood deck (15/32″ minimum) with a self-adhered granulated underlayment. | Enclosed buildings, homes, and projects where code calls for a solid substrate |
| Zip Channel | Aluminum channels fasten directly to the rafters, with no battens or purlins. The system is independently waterproof. | Performance Palm projects that want a clean interior and fast framing |
| Over metal or concrete | Pressure-treated 1″ x 4″ battens go over the existing deck, then the thatch fastens to the battens. | Retrofits of existing commercial roofs |
Step by Step
- Prepare the structure. Install battens at the spacing in your product data sheet, or install the deck and underlayment.
- Start at the eave. Like shingles, thatch goes on in overlapping courses from the bottom of the roof to the top.
- Fasten each shingle. Use six fasteners per shingle: 11-gauge 1.25″ ring shank roofing nails or 1.25″ #8 truss head screws.
- Keep your exposure consistent. Set each course at the exposure listed for your product so the texture reads evenly across the roof.
- Finish the hips and ridge. Cap them with hip and ridge shingles to complete the look and seal the top of the roof.
The finished system is about 1-1/2″ thick. No sealing, spraying or treatment is needed once it is on.
Watch It Done
Seeing a crew work through the courses is the fastest way to understand the process. Find step-by-step install videos on the Endureed YouTube channel.
After Installation
Endureed thatch needs no maintenance to perform. We do recommend an annual look at the roof and brushing off any loose debris to keep it looking its best. Warranties run 10 years for Basics, 20 years for Performance and 30 years for Premium.
Start Your Project
Request a sample to see the material up close, or contact our team for a quote or an introduction to an approved installer near you.